We R Makers Minc Cinch Foil & Thermal Book Binder Machine

SKU: 717540

Regular price $144.49
Sale price $144.49 Regular price $169.99
Save 15% SOLD OUT
Shipping calculated at checkout.

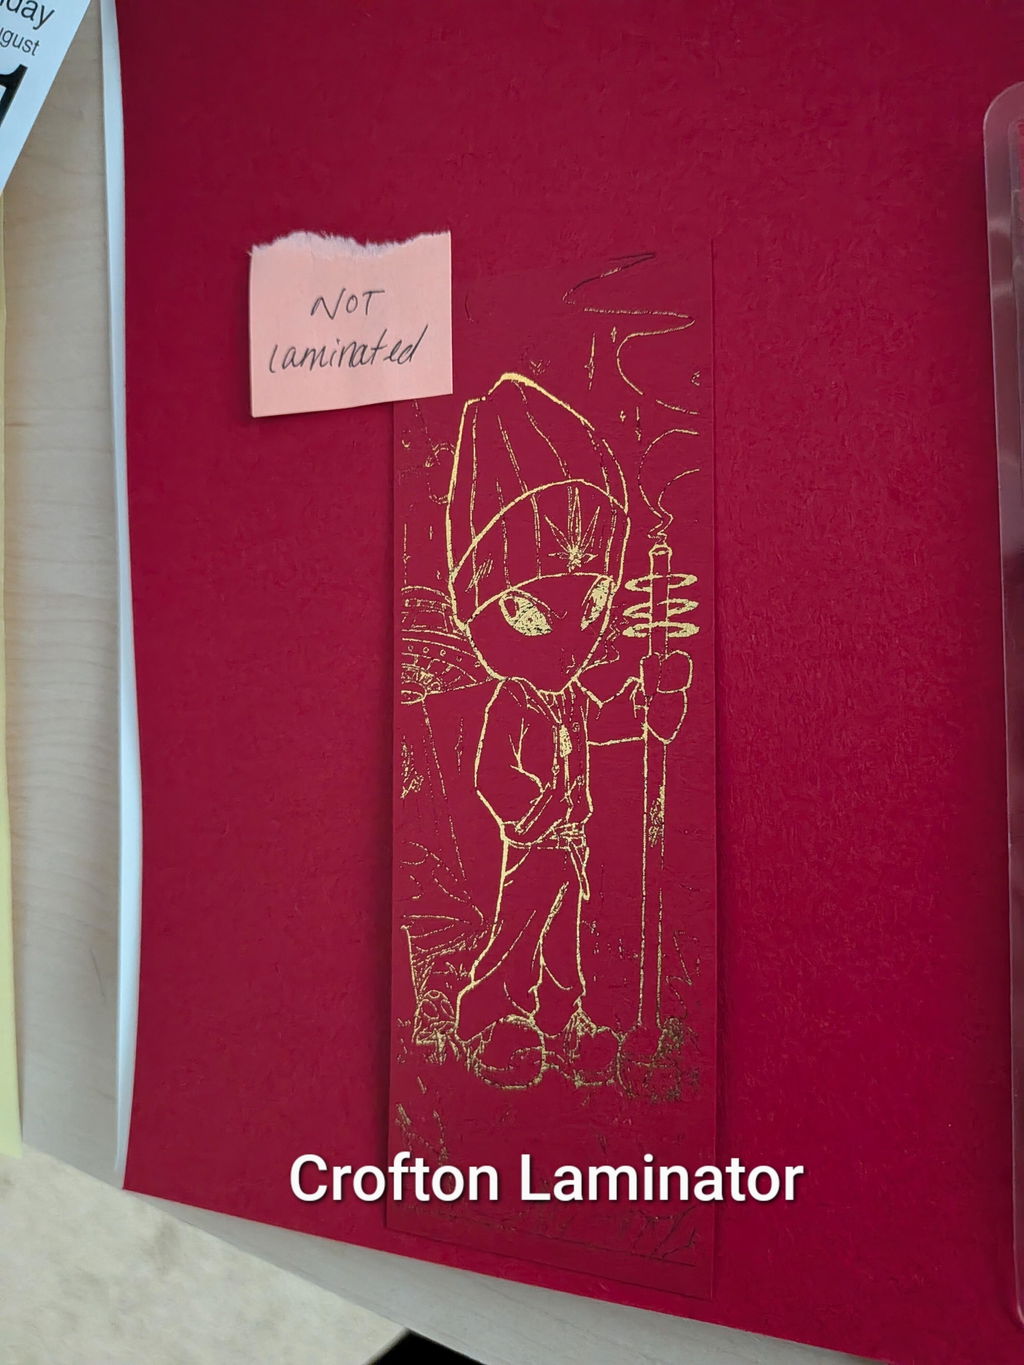
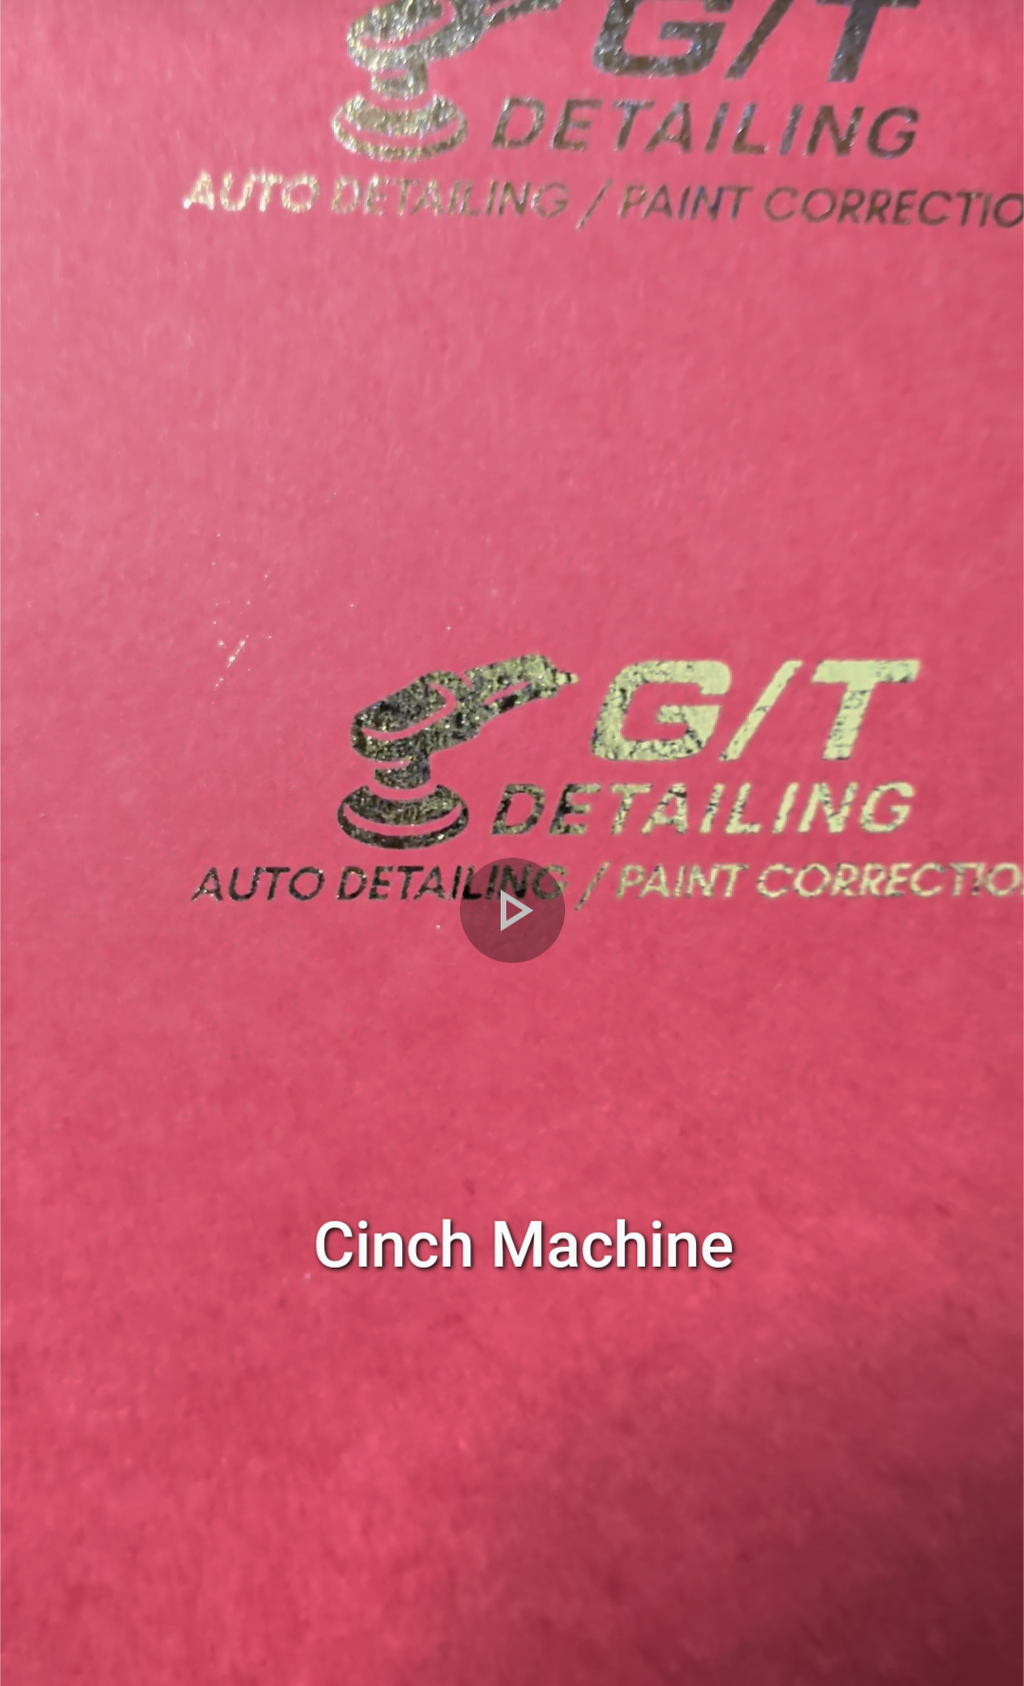
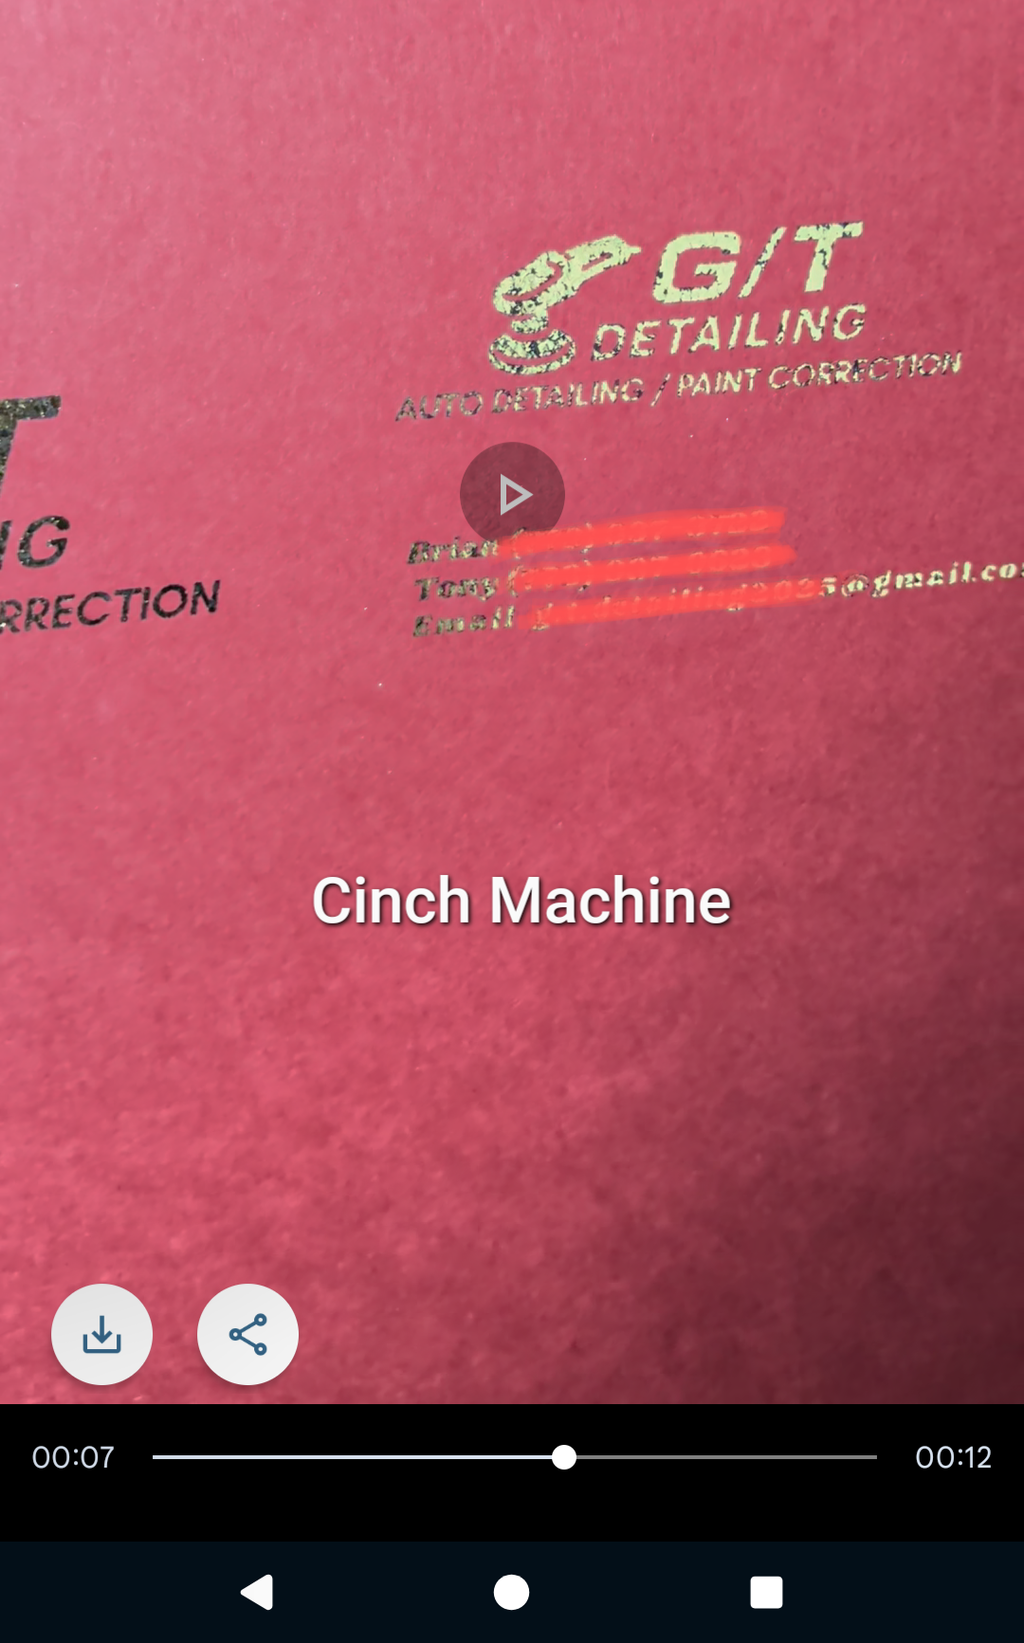
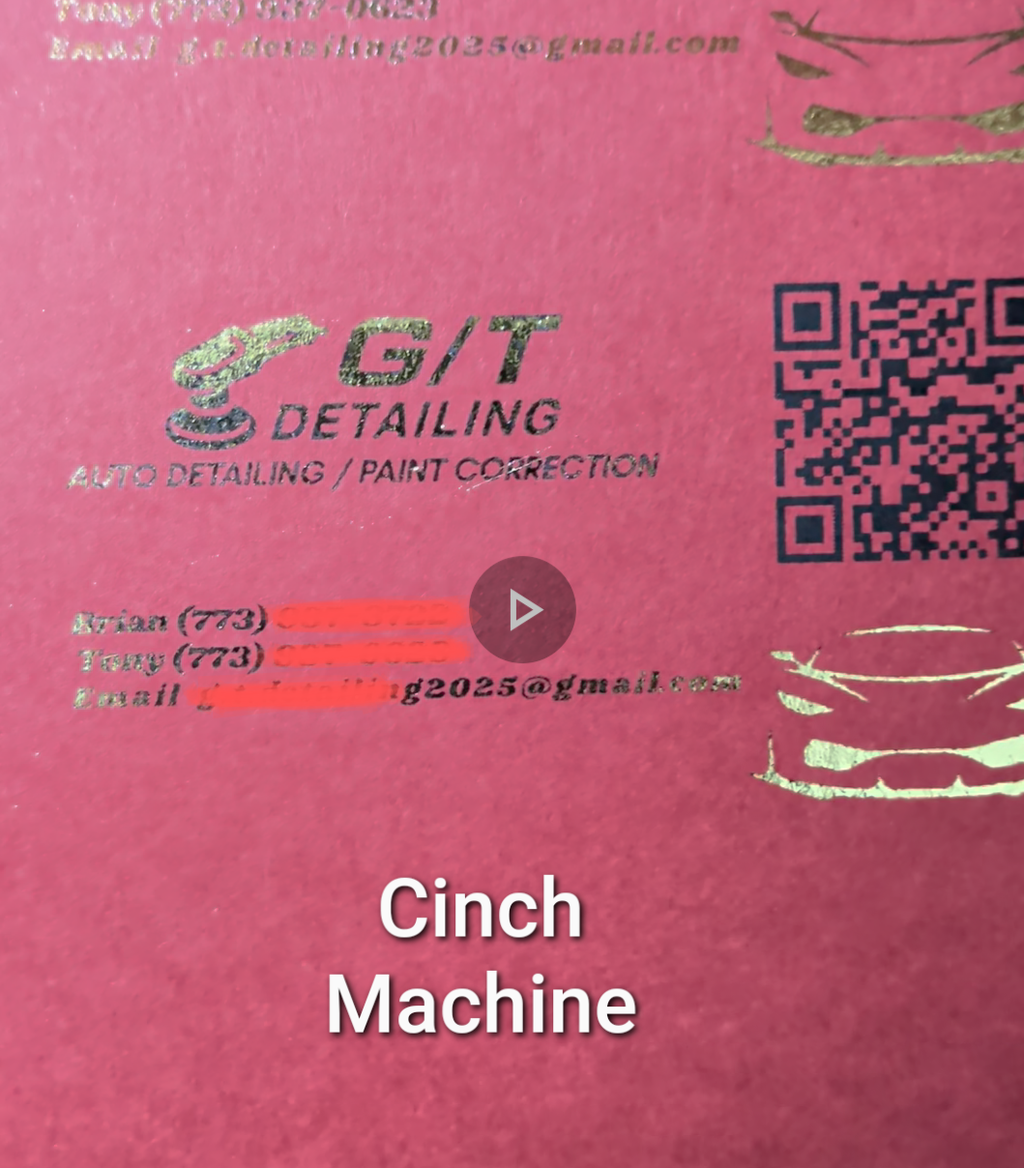
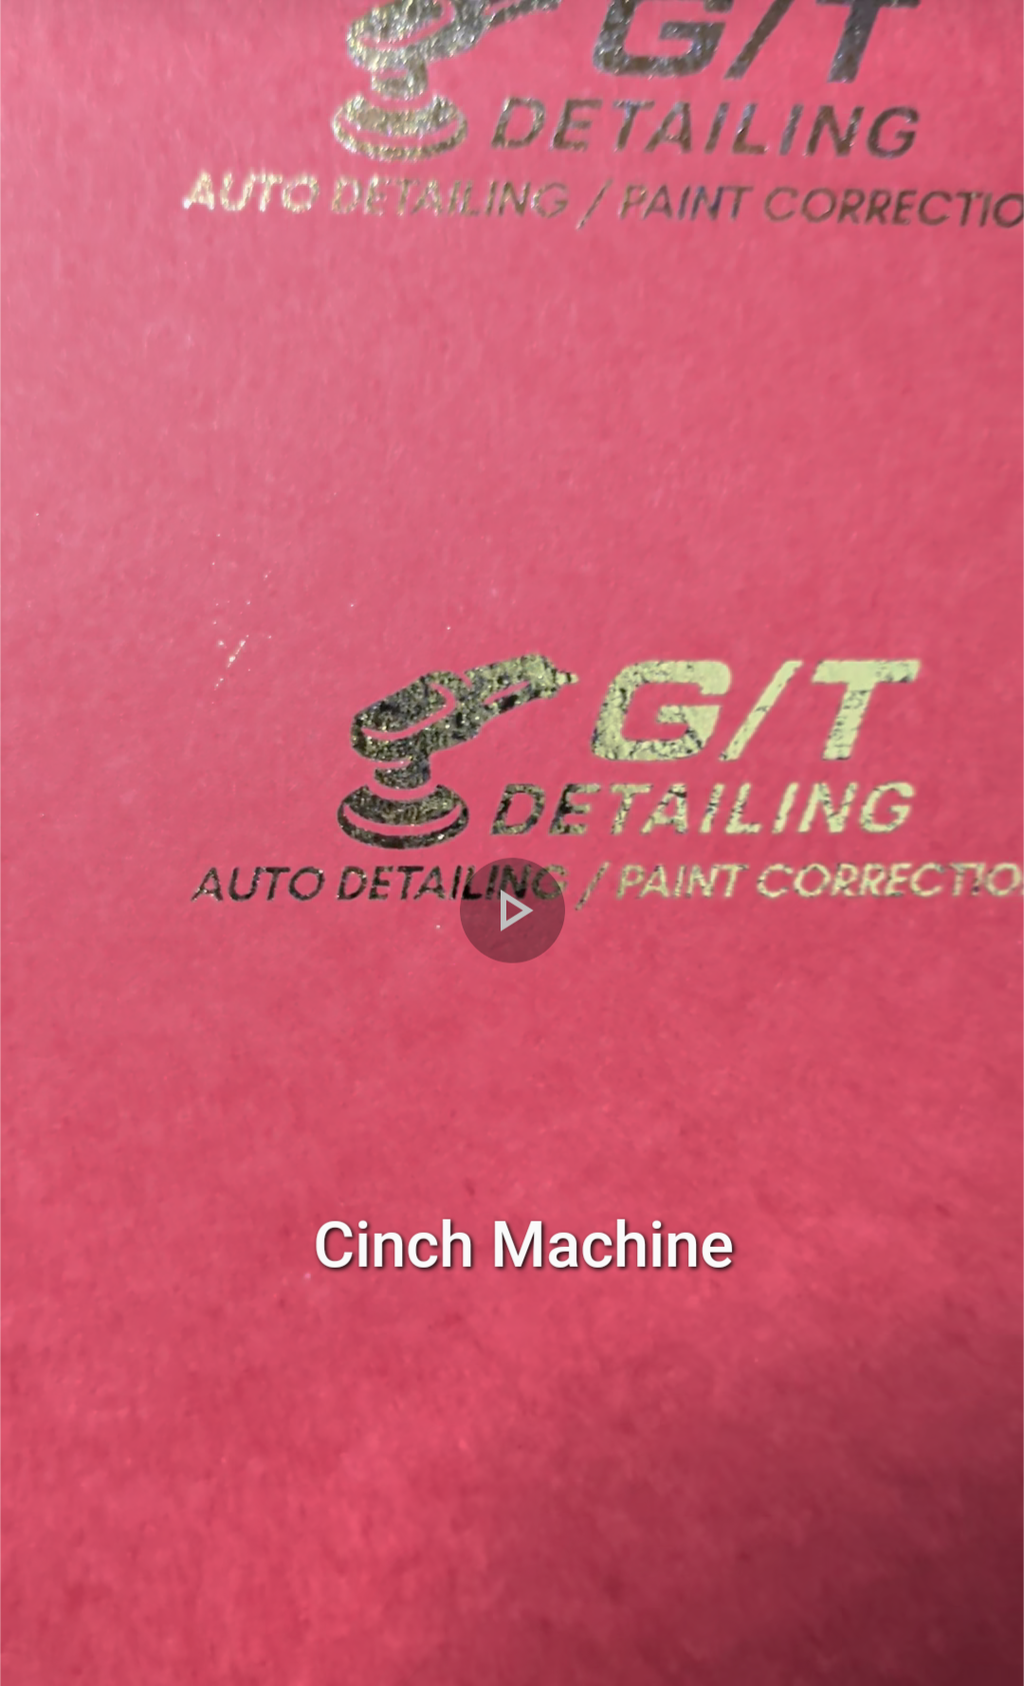
Unleash the ultimate crafting potential with the new MINC Cinch by We R Makers—a revolutionary tool that combines two of the most beloved crafting technologies into one innovative machine! This game-changing device seamlessly integrates the stunning foil application of the MINC Foil Applicator with the bookbinding magic of the Cinch Thermal Binding system. Now, you can effortlessly add shimmering foil accents to your handmade cards, scrapbook pages, and invitations, while also creating professionally bound journals, albums, and notebooks—all with a single machine.

Whether you’re a seasoned crafter or just starting out, the MINC Cinch opens up a world of possibilities for creativity and personalization. From small-scale projects to larger creations, this all-in-one tool will elevate your crafting to dazzling new heights.

Specifications:

  • MINC Foil Technology: Add eye-catching foil accents to cards, scrapbook layouts, invitations, and more.
  • Thermal Cinch Binding: Create securely bound books with trendy or classic styles for every project.
  • Professional Results: Heat-seal binding ensures a polished and durable finish for your creations.
  • Time-Saving Innovation: Bind multiple books at once, perfect for bulk crafting sessions.
  • Compact Design: Save space in your crafting area without compromising on functionality.
  • Weight: 4.4 lbs
  • Dimensions: 17.3" x 4.75" x 8.66"

Title

Product Resources

Bring your foil projects together with the We R MINC Cinch Binding Machine.
Designed to complement the MINC foiling system, this binding tool lets you punch and bind your finished foil pages into beautifully polished notebooks, planners, and journals.


The MINC Cinch combines ease of use with reliable performance, helping you create custom bound projects with clean, consistent results. Whether you're working on memory keeping, planners, or creative DIY projects, this tool allows you to turn individual pages into cohesive, professional-looking books.


Stylish in a white and blue finish, the MINC Cinch is the perfect addition to any crafting workspace focused on creativity and presentation.


We R Makers — tools designed to make crafting smarter, easier, and more creative

Features

Instructions

Videos

minc cinch: bind your foil projects with style

Features and Benefits

BIND WITH A FOIL-FRIENDLY FINISH — Designed to complement MINC foil projects, allowing you to bind beautifully finished pages into polished books.

PUNCH & BIND WITH ONE TOOL — Easily punch holes and bind pages to create custom notebooks, planners, and journals.

CUSTOMIZABLE PROJECTS — Create personalized books for memory
keeping, organization, and creative projects.

PRECISE & CONSISTENT RESULTS — Built-in guides help ensure accurate hole alignment and professional-quality binding.

MADE FOR MAKERS — Durable, easy-to-use design makes it ideal for both beginners and experienced crafters.

Create Custom Foil-Finished Books in Minutes

Our easy-to-follow instructions will guide you! You can also download them as a PDF to keep them at hand.

Downloadable PDF

  • ENGLISH

  • FRENCH

  • ESPANOL

  • GERMAN

FOILING INSTRUCTIONS

- Turn on unit using the Power button.

- Press the Lamination/Foil button 3 times.

Light will flash red & green while heating up and solid red when ready. Approx 5 min

- Cut foil to correct size for project. 

NOTE: For best results cut foil 1/4 inch larger than project size.

- Open transfer folder. Place project in center of transfer folder.

- Place foil directly over project FOIL SIDE UP.

- Close transfer folder. Smooth any wrinkles.

- Check to make sure toner is completely covered with foil.

- Gently feed hinge side of the transfer folder into the feed slot on front of unit. * The rollers will grab the transfer folder and pull it through.

NOTE - Do not force transfer folder into unit or pull out of machine.

- Caution: The transfer folder will be hot as it comes out of the unit. Let cool for a minute.

- Open folder and gently remove excess foil from project

APPLICATION DE FEUILLE

- Allumez l'appareil en utilisant le bouton d'alimentation. Appuyez sur le bouton Lamination/Foil 3 fois. 

- La lumière clignotera en rouge et vert pendant le chauffage et sera rouge fixe lorsqu'elle sera prête. Environ 5 minutes.

- Découpez le film à la taille appropriée pour le projet. 

- REMARQUE - Pour de meilleurs résultats, découpez le film 1/4 de pouce plus grand que la taille du
projet.

- Ouvrez le dossier de transfert. Placez le projet au centre du dossier de transfert. 

- Placez le film directement sur le projet, 

CÔTÉ MÉTALLIQUE VERS LE HAUT.

- Fermez le dossier de transfert. Lissez les éventuels plis. 

- Vérifiez que le toner est complètement recouvert de film.

- Introduisez doucement le côté charnière du dossier de transfert dans la fente
d'alimentation à l'avant de l'appareil.  Les rouleaux saisiront le dossier de transfert et le feront passer à travers. 

- REMARQUE -Ne forcez pas le dossier de transfert dans l'appareil et ne tirez pas pour le retirer de la machine.


- Avertissement - Le dossier de transfert sera chaud en sortant de l'appareil. Laissez-le refroidir pendant une minute. 

- Ouvrez le dossier et retirez délicatement l'excès de film du projet.

APLICACIÓN DE FOIL

- Encienda la unidad usando el botón de encendido. 

- Presione el botón de Laminación/Hoja 3 veces. La luz parpadeará en rojo y verde mientras se calienta y se mantendrá en rojo sólido cuando esté lista. Aproximadamente 5 minutos.

- Corte la hoja de transferencia al tamaño correcto para el proyecto. 

- NOTA - Para obtener los mejores resultados, corte la hoja 1/4 de pulgada más grande que el tamaño del proyecto.

- Abra la carpeta de transferencia. Coloque la hoja directamente sobre el proyecto, CON EL LADO DE LA HOJA HACIA ARRIBA.

- Cierre la carpeta de transferencia. Alise cualquier arruga. Asegúrese de que el
tóner esté completamente cubierto con la hoja.

- Alimente suavemente el lado de bisagra de la carpeta de transferencia en la ranura de alimentación en la parte frontal de la unidad. Los rodillos agarrarán la carpeta de transferencia y la arrastrarán a través de la unidad.

- NOTA - No fuerce la carpeta de transferencia en la unidad ni la tire de la máquina.

- Precaución - La carpeta de transferencia estará caliente al salir de la unidad.
Déjela enfriar durante un minuto. Abra la carpeta y retire suavemente el exceso de hoja del proyecto.

AUFBRINGEN VON FOLIE

- Schalten Sie das Gerät mit der Netztaste ein. Drücken Sie die Taste Laminierung/Folie 3 Mal. Das Licht blinkt rot und grün, während das Gerät aufheizt, und leuchtet dauerhaft rot, wenn es bereit ist. Dies dauert etwa 5 Minuten.

- Schneiden Sie die Transferfolie auf die richtige Größe für Ihr Projekt zu. 

- HINWEIS - Für beste Ergebnisse schneiden Sie die Folie etwa 1/4 Zoll (ca. 0,6 cm) größer als das Projektformat zu.

- Öffnen Sie die Transfermappe. Legen Sie die Folie direkt auf das Projekt, MIT DER FOLIE NACH OBEN.

- Schließen Sie die Transfermappe. Streichen Sie eventuelle Falten glatt. Stellen Sie sicher, dass der Toner vollständig mit der Folie bedeckt ist.

- Führen Sie die geschlossene Seite (Falz) der Transfermappe vorsichtig in den Einzugsschlitz an der Vorderseite des Geräts ein. Die Rollen erfassen die Mappe und ziehen sie durch das Gerät. 

- HINWEIS - Drücken Sie die Transfermappe nicht mit Gewalt in das Gerät und ziehen Sie sie nicht heraus.

- Vorsicht - Die Transfermappe ist heiß, wenn sie aus dem Gerät kommt. Lassen Sie sie eine Minute lang abkühlen. Öffnen Sie dann die Mappe und entfernen Sie vorsichtig die überschüssige Folie vom Projekt.

  • ENGLISH

  • FRENCH

  • ESPANOL

  • GERMAN

THERMAL BINDING INSTRUCTIONS

- Turn on unit using the Power button.

- Press the Bind button. Light will flash red while heating up and solid green when ready. Approx 3 min.

- Compile your book contents, in the order that you desire. Placing the paper you’re using for the cover on top.

- Insert pages into binding spine, peel off adhesive liners on either side of binding spine and adhere to front and back cover.

- Insert any accessories by adhering to internal pages with adhesive and clipping to the edge of the book away from the spine.

- Place book in machine, with spine facing down, and press Timer. Indicator light will stop blinking and beep when book is ready (approximately 1 min).

- Remove book & let cool in cooling slot, spine side down, for 5 minutes, or until cool.

RELIURE THERMIQUE

- Allumez l'appareil en utilisant le bouton d'alimentation.

- Appuyez sur le bouton Bind. La lumière clignotera en rouge pendant le chauffage et sera verte fixe lorsqu'elle sera prête. Environ 3 minutes.

- Rassemblez le contenu de votre livre dans l'ordre souhaité, en plaçant le papier que vous utilisez pour la couverture sur le dessus.

- Insérez les pages dans la couverture de reliure, décollez les protections adhésives de chaque côté de la couverture de reliure et collez-la sur la couverture avant et arrière.

- Insérez les accessoires en les collant sur les pages internes avec l'adhésif et en les fixant au bord du livre, à l'écart de la reliure.

- Placez le livre dans la machine, avec la reliure face vers le bas, et appuyez sur Timer.

- Le voyant s'arrêtera de clignoter et émettra un bip lorsque le livre sera prêt (environ 1 minute).


- Retirez le livre et laissez-le refroidir dans la fente de refroidissement, côté reliure vers le bas, pendant 5 minutes ou jusqu'à ce qu'il soit complètement refroidi.

ENCUADERNACIÓN TÉRMICA

- Encienda la unidad utilizando el botón de Encendido.

- Presione el botón de Encuadernación. La luz parpadeará en rojo mientras se calienta y se volverá verde sólida cuando esté lista. Aproximadamente 3 minutos.

- Compila el contenido de tu libro, en el orden que desees. Coloca el papel que estás usando para la cubierta en la parte superior.

- Inserta las páginas en la espina de encuadernación, quita los revestimientos adhesivos en ambos lados de la espina de encuadernación y adhiérelo a la cubierta frontal y posterior

- Inserta cualquier accesorio adhiriéndolo a las páginas internas con adhesivo y sujetándolo al borde del libro, alejado de la espina.

- Coloca el libro en la máquina, con la espina hacia abajo, y presiona el botón de Temporizador. La luz indicadora dejará de parpadear y sonará un beep cuando el libro esté listo (aproximadamente 1 minuto).

- Retira el libro y déjalo enfriar en la ranura de enfriamiento, con la espina hacia abajo, durante 5 minutos o hasta que esté frío.

THERMISCHE BINDUNG

- Schalten Sie das Gerät mit der Netztaste ein.

- Drücken Sie die Taste Bindung. Das Licht blinkt rot, während das Gerät aufheizt, und leuchtet dauerhaft grün, wenn es bereit ist. Dies dauert etwa 3 Minuten.


- Stellen Sie den Inhalt Ihres Buches in der gewünschten Reihenfolge zusammen. Legen Sie das Papier, das Sie als Deckblatt verwenden, ganz obenauf.

- Legen Sie die Seiten in den Binderücken ein, entfernen Sie die Schutzfolien von den Klebestreifen auf beiden Seiten des Binderückens und kleben Sie diese an der vorderen und hinteren Abdeckung fest.

- Fügen Sie beliebiges Zubehör hinzu, indem Sie es mit Klebstoff auf den Innenseiten befestigen und am Rand des Buches (vom Buchrücken entfernt) festklammern.

- Stellen Sie das Buch mit dem Buchrücken nach unten in die Maschine und drücken Sie die Timer-Taste. Die Kontrollleuchte hört auf zu blinken und ein Signalton ertönt, wenn das Buch fertig ist (ca. 1 Minute).

- Nehmen Sie das Buch heraus und lassen Sie es im Kühlschlitz mit dem Buchrücken nach unten für 5 Minuten oder bis es vollständig abgekühlt ist auskühlen.

Videos & Tutorials

Alt image
Alt image