


You May Want to Add...
M
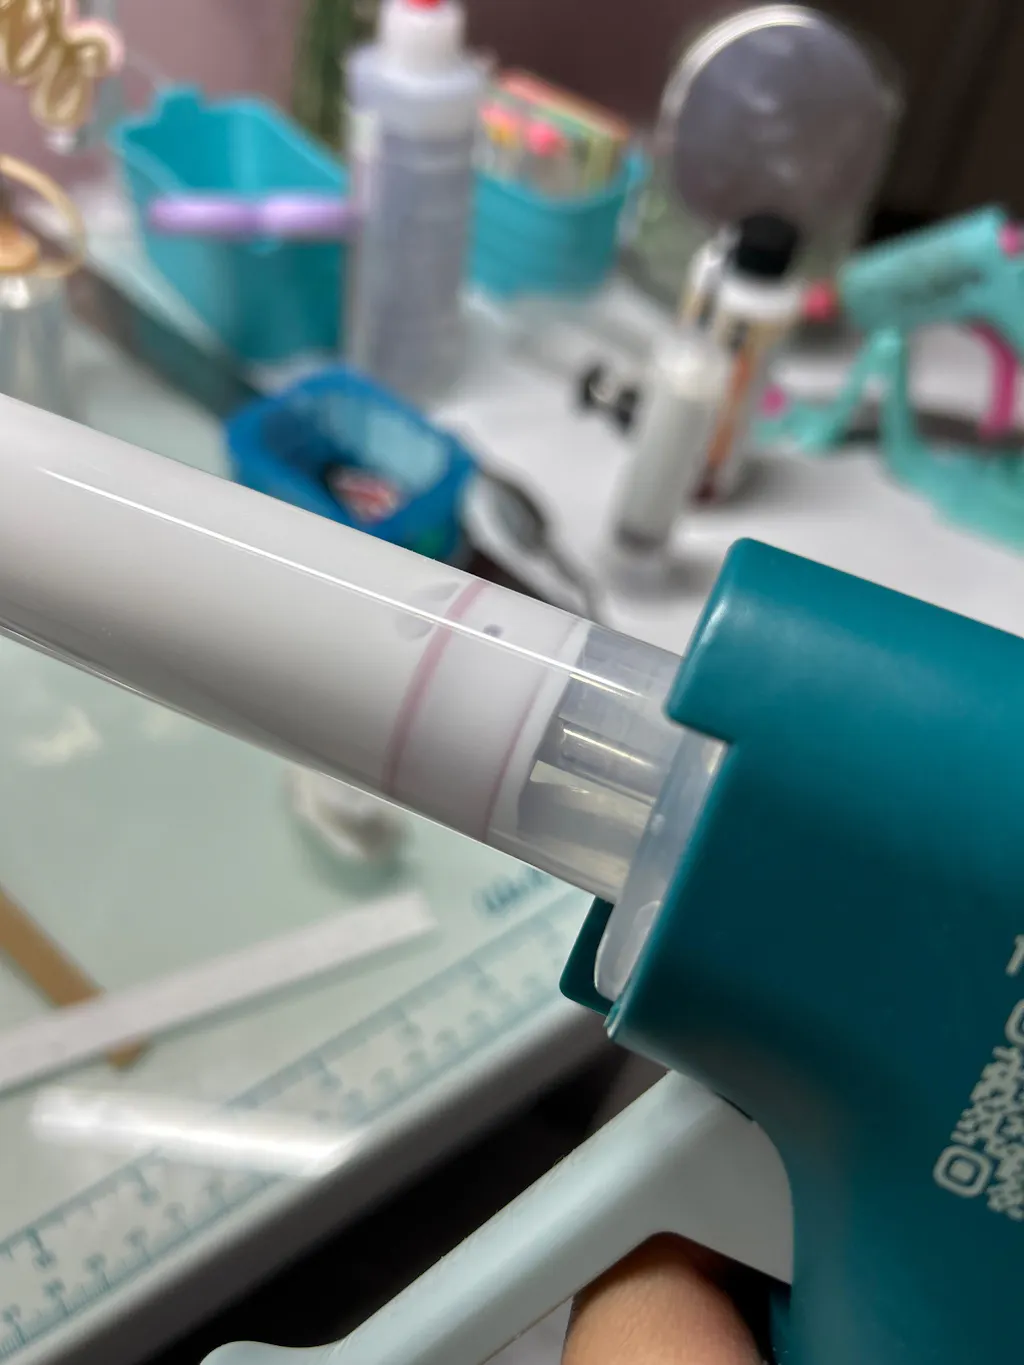
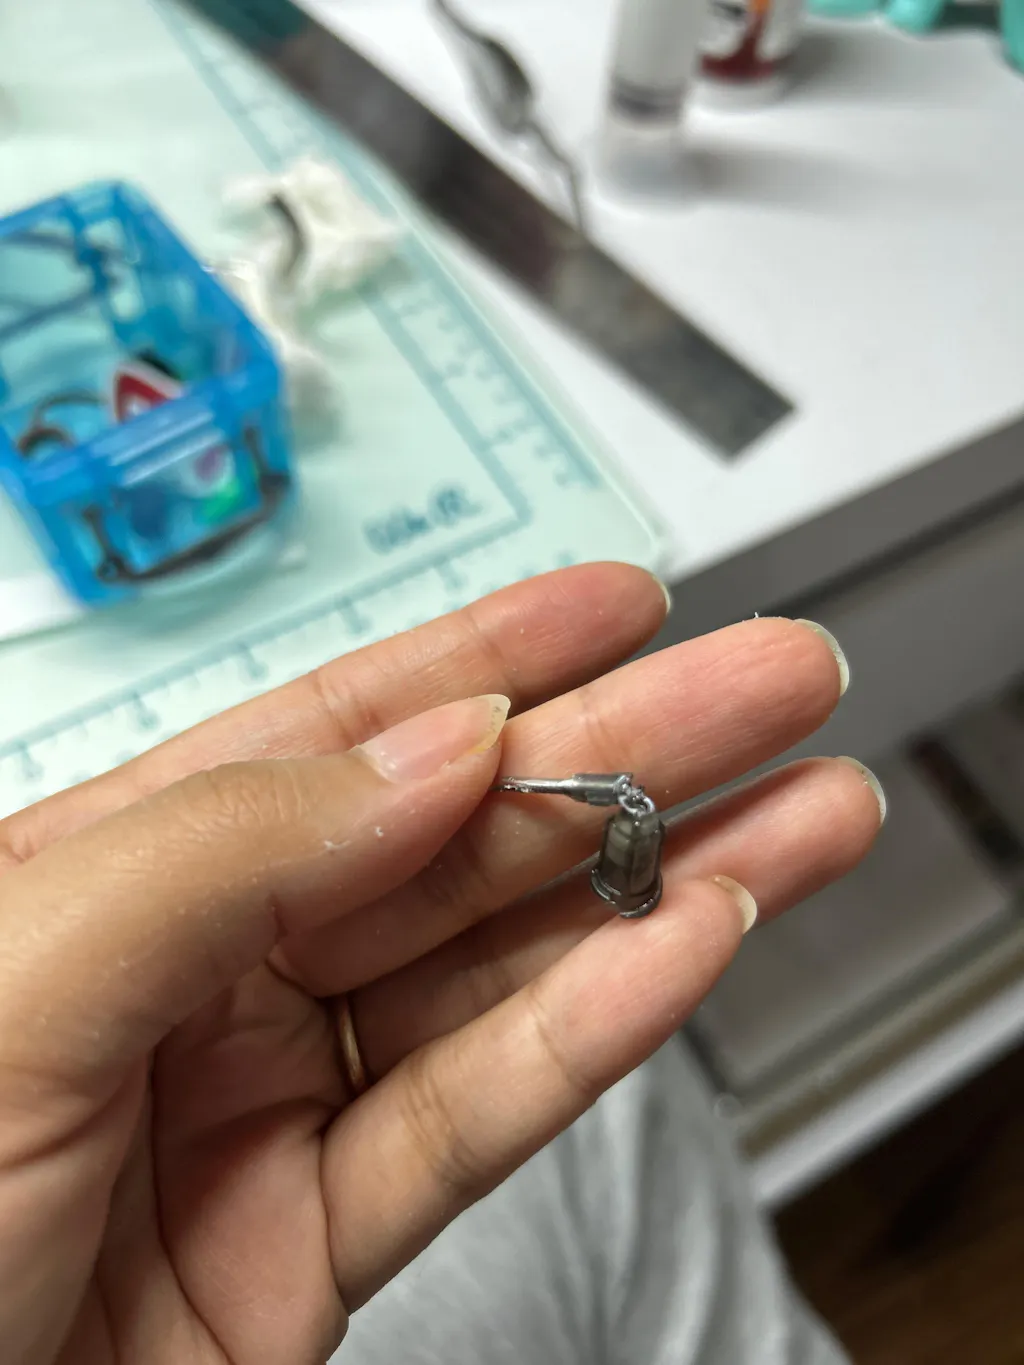
I usually love this brand and rarely have any complaints, which is why I was so excited to try this. The concept is amazing, but unfortunately, the tip broke during my very first use. Additionally, the tool leaks from the back and glue constantly runs from the tip without stopping.
I tested it with Bearly Art and Beacon glue; while the latter performed slightly better, the leaking issue persists. It is quite disappointing because these glues are expensive, and this tool is causing a constant waste of material. Considering the product itself is not cheap either, I don’t think I will be able to use it. It would be great if there were a solution for this, as I really wanted it to work.
W
Mine worked great at 1st. Now when I try to squeeze the glue the thin tip just pops right out and glue goes everywhere. I've cleaned it out, followed directions and started over. It's doing the same thing. I've used it once. Any idea what I'm going wrong?
A
Big advocate for this tool! I use it for fabric glue and I no longer have to use a needle to remove the dried up glue at the tip. The cap keeps it from drying out. There was no residue when I poured the glue into the syringe. The stopper pushed it all down the tube without glue coming out the sides. I love the different sized tips. It comes out easily and there aren’t air bubbles. Only tip—be careful twisting the syringe into place and follow the instructions on assembly unlike what I did lol GO get yourself one of these now!!!
N
Not easy to use, drips glue,
Probably will never use , waste of money my opinion.
A
Nice tools
Title
Videos & Tutorials


